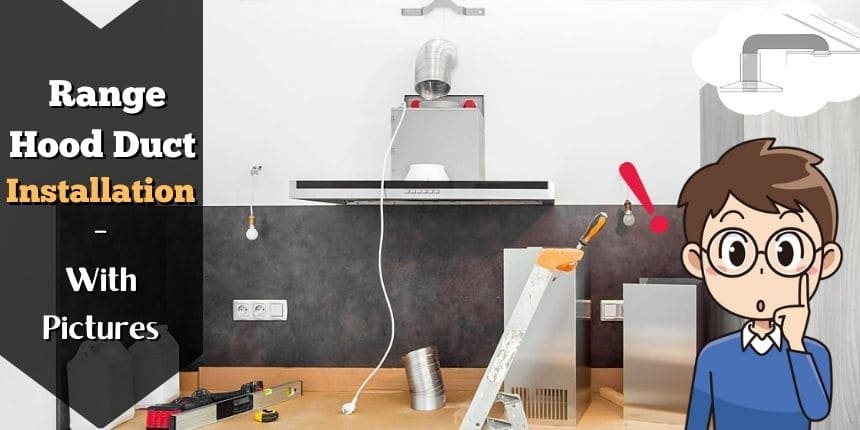
A proper installation of a range hood duct makes sure that smoke, grease, and other parties which are produced during cooking are effectively removed from the kitchen and ventilated outside. A well-designed and properly installed range hood duct can help in making the safety of those using it in the kitchen, as well as prolong the lifespan of the range hood itself.
To sustain proper airflow of a range hood you have to ensure range hood duct installation in the right way. After installing the range hood duct appropriately, you can gain the best functioning and actual benefits from the hood. Below, we show a proper procedure of duct installation for range hood step by step easily.
Materials Require for Range Hood Duct Installation
Here are some materials that are typically used & may be required in range hood duct installations:
- First in first – Safety equipment (such as gloves, eye protection)
- Measuring tape
- Cordless drill or Drill
- Hole Saw
- Fittings (such as elbows, and connectors)
- Screws or fasteners
- Screwdriver
- Silicone (purpose of sealing around joining parts)
Step by Step Guide to How to Install Duct for Range Hood
Our team shows here a bunch of steps to make your task of installing ductwork for the range hood easy and convenient. Range hood duct installation involves the following phases:
Step 1: Determine the location and path of the ductwork
It is the initial step to figure out the appropriate location where you want to install your ductwork based on your kitchen appearance and vent ductwork possibilities. After finding out the suitable path where you are gonna vent your range hood ductwork make sure that there are no barriers like studs, electrical wiring, or any other obstruction that might influence ductwork or may be influenced by itself.
It is also important to pick that type of path where the ductwork can be routed as directly as possible to the outside of the building and this path should be the shortest as possible because maintaining a shorter duct produce better airflow.
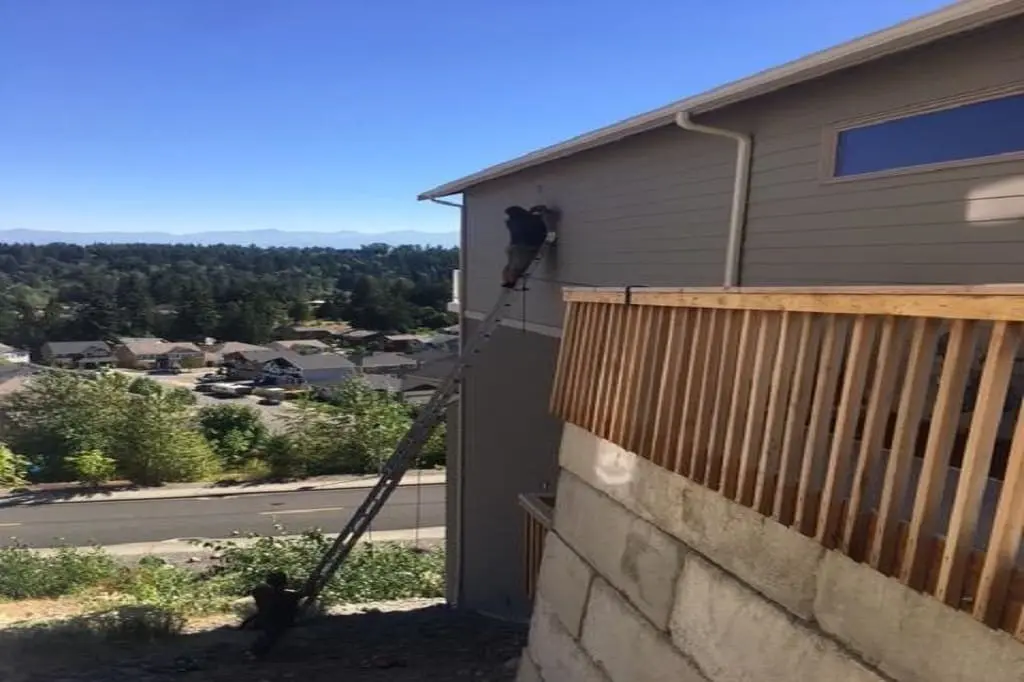
Step 2: Install the hood on the wall
In this step, line the hood unit up with the horizontal line and the wall studs by holding it up to the wall. You may need an assistant here to help you hold the unit in place. Look forward to the help of any person to lift the range hood to place it on the wall. Because usually these units are very heavy to handle and get an accurate position for a single person. The helping hand holds up the unit carefully in the exact place.
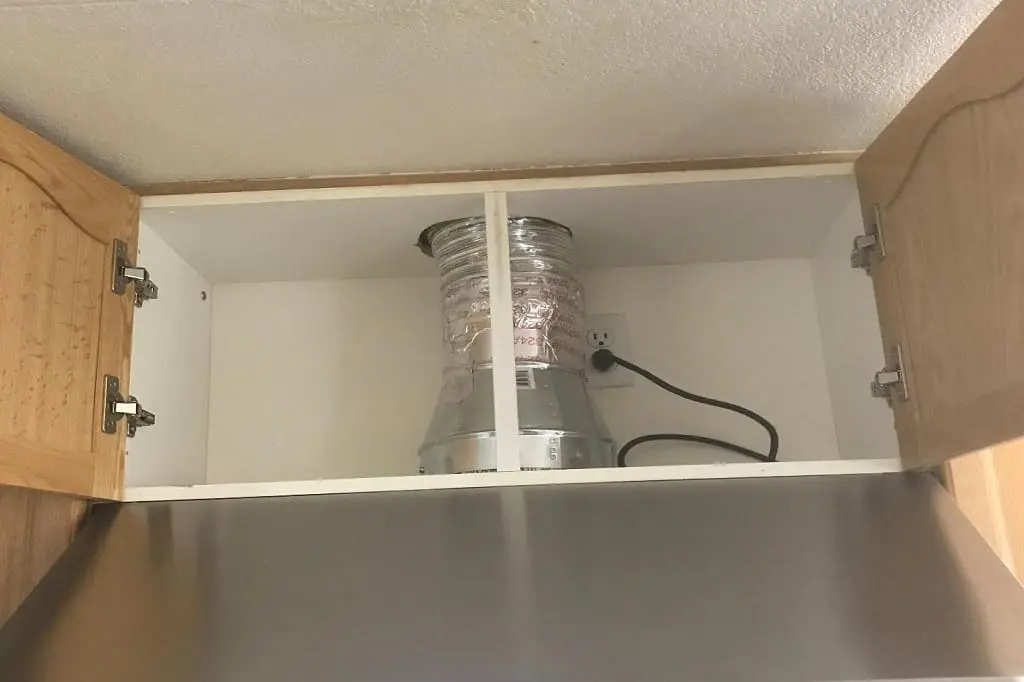
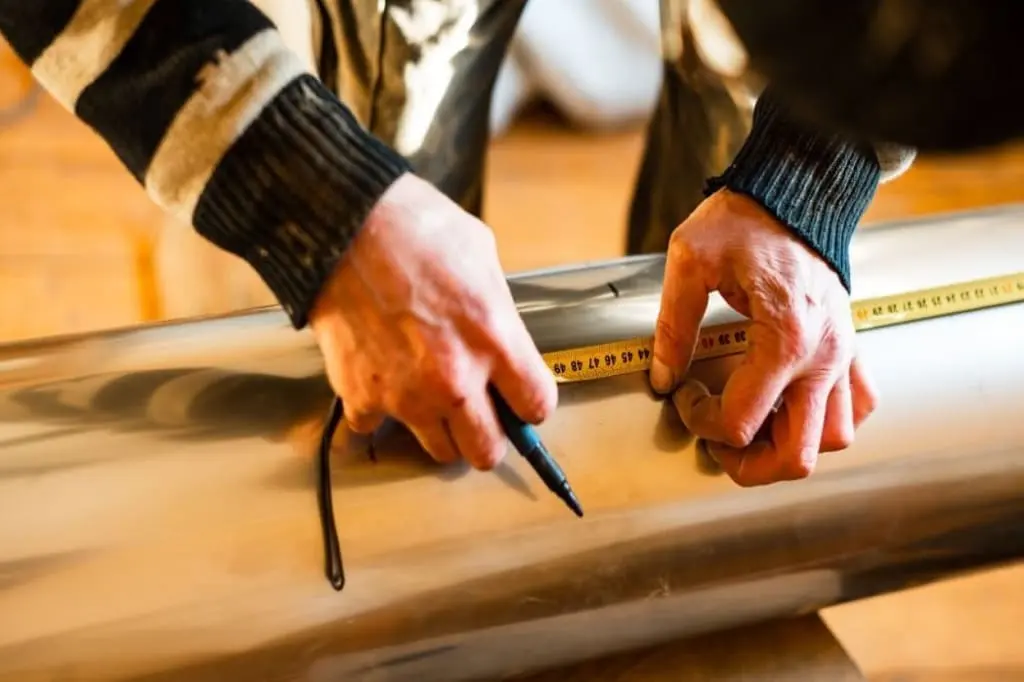
Step 3: Take accurate measurements for duct opening
After that, you have to measure a hole for the duct opening on the top of the kitchen cabinet. Use a tape measure, to measure the size of holes between 6 to 7 inches. Some wall connections would be round and some would be rectangles. Make sure that you take the correct measurements to avoid an uncertain incidence.
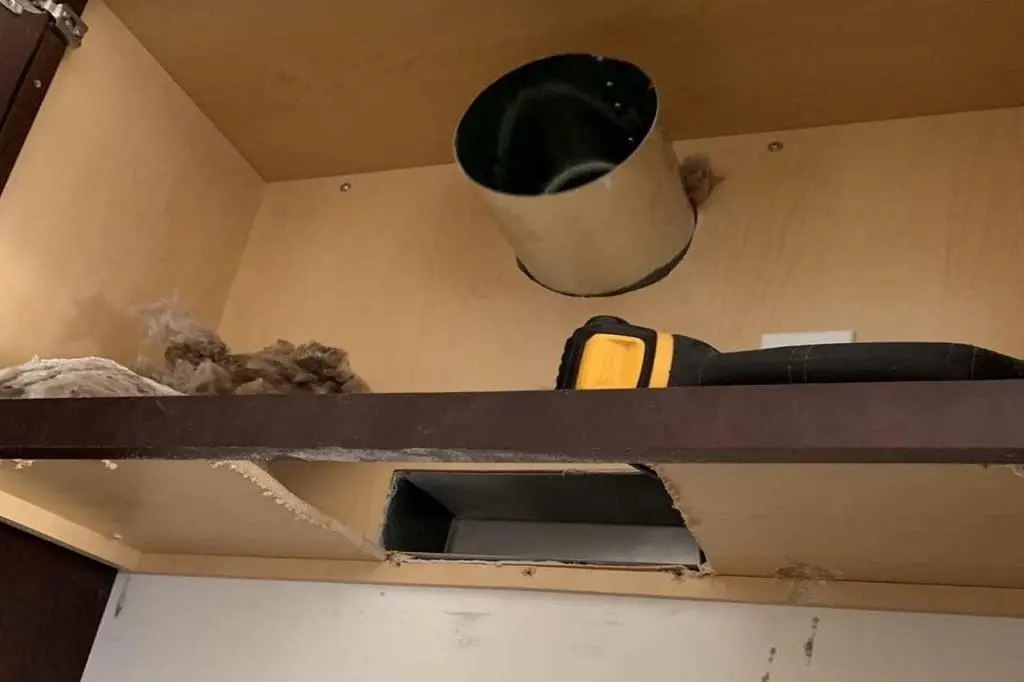
Step 4: Attach the adaptor connects to the ductwork
In this step, connecting the adaptor accurately is an essential part of installing a range hood duct. Find out the appropriate adaptor that matches the size of the ductwork.
The adapter should be placed over the opening where the ductwork will be connected to the range hood. Use screws or other fasteners to attach the adaptor. Screws should be inserted through the pre-drilled holes in the adaptor. The adaptor should be properly secured by either two or three screws around the perimeter of the fan’s sides. With foil tape or duct sealant, seal the connection between the adaptor and the duct. You can check the connection to ensure that there are no air leaks.
Step 5: Lay out the template for the wall outlets
A wall outlet template is used to mark the location where the hole will be cut in the wall to pass through the ductwork. This will be the exit point for the ductwork and make sure that it is placed close to the hood.
You can mark the center of the wall outlet using a pencil. Consider the center of a straight line as the range hood position. Place the wall outlet template over the mark and ensure that the template match with the size and shape of the ductwork. Use a drywall saw or jigsaw to cut the trace area. Clean the space by clearing any debris from the hole for the ductwork passes.
Step 6: Install the vent outlet cover
In that step vent outlet cover is an outward piece that covers the hole in the wall from where the ductwork exits. After cleaning the area of the hole in the wall slide the venting outer cover over the ductwork. You should position the vent outlet cover so that it is level with the ground at its center. Once the cover was installed, use screws to secure it.
So, drill holes using a drill bit that is smaller than the screws. Insert the screws into the pilot holes and tighten them using a screwdriver. There is a possibility to crack drywall for overtightening so don’t over-tighten. At last, inspect the outer cover side to side to make sure that all sides are securely attached and there are no gaps between the cover and the wall.
Step 7: Assemble the wall cap or roof cap
The wall cap for wall venting or roof cap for roof venting will prevent exterior air and elements from entering the ductwork.
The main reason for using them is to try to control trash and dirt away from the vent. The trash and dirt might impact the proper working of the kitchen hood system. So, make a secure attachment of the wall or roof cap in place using screws or fasteners. Along with them, you can use foil tape or duct sealant to ensure a tight seal.
Step 8: Seal any gaps around the ductwork
Cover and seal any gaps around the ductwork, wall outlet template, and vent cap using silicone with caulk or foam to ensure that there are no leaks.
If you do not check this step properly then this error will involve the efficiency of the ductwork functioning and outside air taking entry into the building.
Step 9: Turn on the range hood
Ensure proper airflow through the ductwork by turning on the range hood to verify there are no errors. Confirm that the ductwork is clear of obstructions and that air flows freely. By this final step, your range hood duct installation task is completed successfully and you already learned how to install duct for range hood.
Final Words
Installing a range hood duct is an essential part of maintaining good indoor air quality as well as running the kitchen hood efficiently. Whether you are replacing an existing duct system or installing a new one, it is important to ensure that the duct system is properly sized and installed to provide adequate ventilation based on your cooking requirements. By following the steps outlined in this guide, you could complete a range hood duct installation without further delay.
But if you do not have a face value with electrical assignments consult with professional range hood installation bodies.
Related Article:
How to Install a Wall Mount Range Hood