Nowadays, no kitchen room does not have a range hood. Every single thing has a lifespan. When the range hoods reach the end of their useful life, they become damaged or ineffective.
A similar situation may also arise in the case of range hoods. When that happens, it may be necessary to replace the old range hood with a new range hood or remove it permanently. Therefore, you must learn how to remove range hood to accomplish this simple task quite easily.
After a few years of use, the range hood’s filters and fans become oily, and its performance becomes less than what it used to. Thus, it will be necessary to replace the vent hood later. Now you can find out how to remove a range hood in 9 easy steps from this guide.
The complete instructions in this article will not apply to every kind of range hood in detail. It’s just an overview of the whole process of replacing a range hood in front of your eyes.
Tools and Materials Required to Remove Kitchen Vent Hood
Make sure all your tools are put together before you start working. This will save you time. You’ll need the following tools to complete these steps:

- Safety goggles (safety is the first priority)
- Power Driver
- Non-Contact Tester
- Wire-Cutter and
- Flat Blade Screwdriver
Steps to Complete How to Remove Range Hood
Step 1- Turn Off the Power of Existing Range Hood:
At present many range hoods are powered by electricity through circuit breakers. Most range hoods generally have 120-volts powered using a circuit breaker.
The first thing you should do is turn off the power to the circuit breaker and confirm your existing range hood has been disconnected properly. Then, hit the power switch several times to ensure that it is completely disconnected from the electric power. But if you are not sure which circuit is connected to the power of this vent hood? Then turn off the main switch of electrical conduction of the whole house until your work to uninstall range hood has been done for more safety.
How to Turn Off Power to Range Hood
Initially, you should figure out which breaker is used for the specific range hood. That’s why don’t need to to resort to the main one. To ensure properly you can turn on the hood (so you can hear it) and identify to switch off the breakers.
Step 2 – Inspect the Hood Arena
Start your main work of removing a range hood from here. Get close to the range hood closely and check the under cabinet to see all screws, where the power and the ducted system are, and how secure they are!
Step 3 – Remove the Filters and Cover plate of The Range Hood
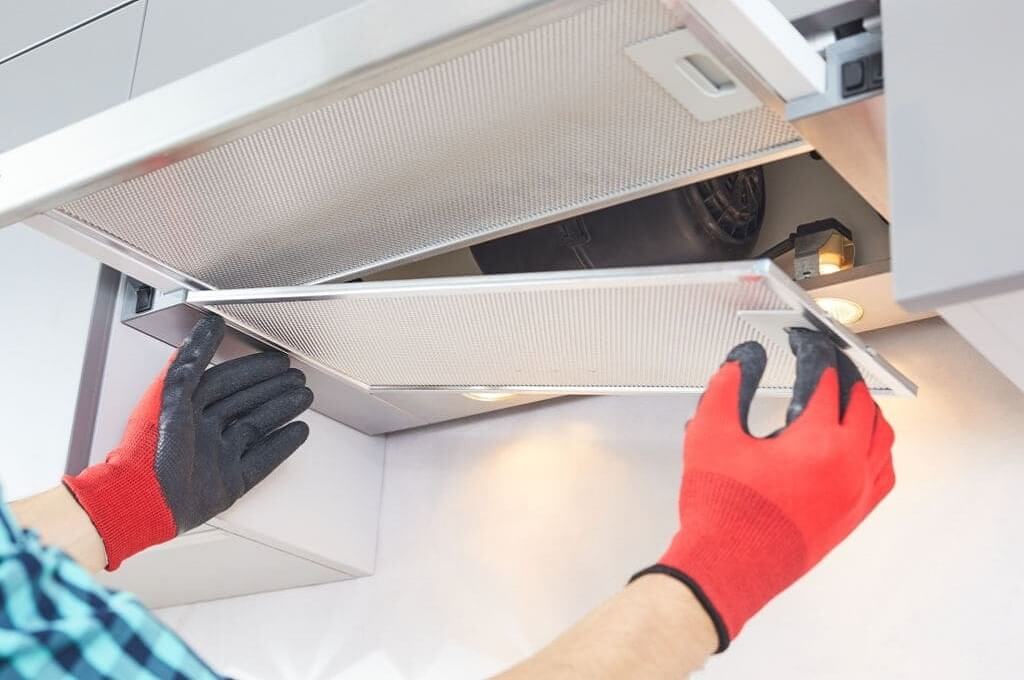
Disconnect and remove range hood filters, which are inside the vent hood, by pushing the front of the filter cover to compress a spring at the back then the filters will drop out of the cover plate. Next, take off all nuts and screws from the fan cover with a drill or driver machine to remove rangehood filters. Usually, there are four screws around the fan cover. When these are unscrewed, this way will open the fan’s cover then you can see the fan and wires on the inside.
Step 4 – Identify Wiring and Disconnect the Wires
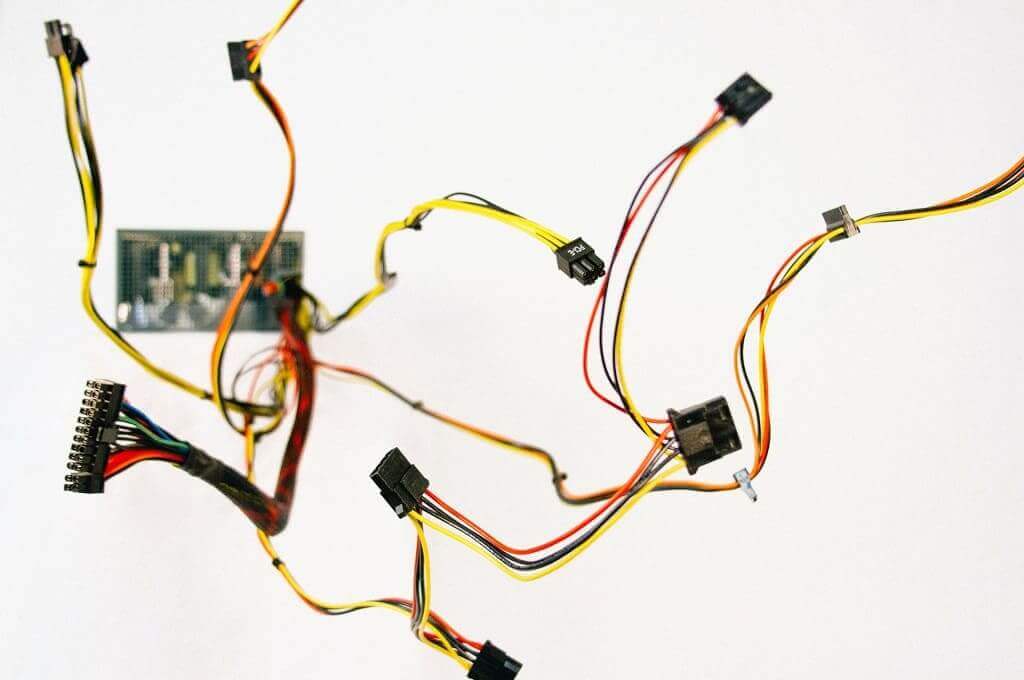
The wires of hard wired range hood are visible behind these covers after unscrewing the nuts. This is the place where power is carried out in all the places of the range hood. Then cut the wires through the wire cutter that is connected with crimped connectors to complete the replacement range hood. Before doing it, make sure that the wires aren’t live with a non-contact circuit tester.
Step 5 – Remove from The Ductwork
If it is a ducted range hood, you must disconnect the range hood from the ductwork. You must deviate from existing ductwork before removing the range hood. Therefore, it should be removed from the ductwork and separated from there.
Step 6 – Remove the Conduit or Cable Connectors
Spin the fittings that hold the cable or conduit in their wiring compartments of the hard wired range hood. Some fittings have a clip on the inside. Rotate them to loosen them. Ensuring the hood has not connected to any ductwork with screws, you might be able to do so later if you cannot remove the mounting bracket from the hood.
Step 7 – Remove All Fasteners and Support
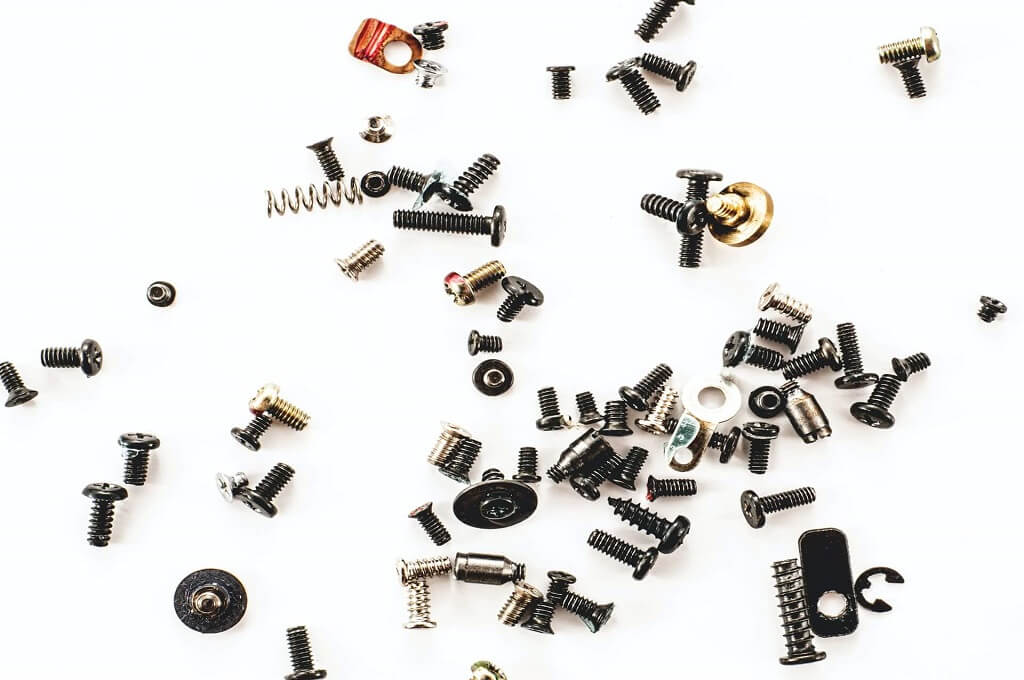
When you loosen all the fasteners using a power driver, lightly fasten the two fasteners in the two corners without completely loosening them, which will protect you from any unexpected things in the future. At the same time, tell someone else to hold the range hood for support.
Tell the helper to ensure the safety of the range hood. Then remove the remaining two screws with a screwdriver. Finally, carefully remove range hood from the cabinet. If you want, you can remove it alone without the need for a helper because the current range hoods are very light. But for more safety, a helper must be kept with you.
Step 8 – Disconnect the Vent Hood Power Source
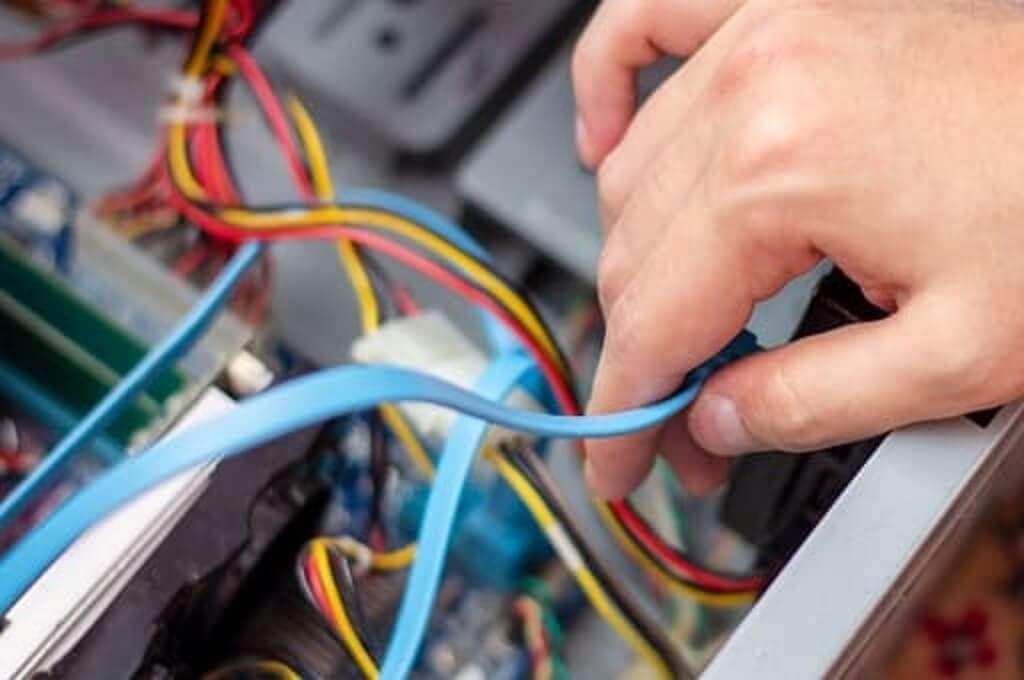
Finally, you also need to ensure that the power transmission wires have been protected in the range hood’s previous position if you can remove range hood. Put the safety caps on each wire individually if you don’t install a new range hood right now. These safety caps will ensure that if someone touches the wire by mistake later, there will not be an electric shock. Meanwhile, it will keep secure your family members.
Step 9 – Turn the Circuit Breaker on and Restore Power
After finishing safety work on your wires. If the removed hood is part of another circuit breaker, you must reconnect this circuit’s power. Also, turn on the whole house’s electricity if you turned it off for previous instructions. Congratulations! Your job is over. You have successfully removed the range hood.
Final Words
Hence, you have already been able to learn very well how to remove range hood. You can now perform rangehood replacement yourself without facing any problems. As a final note, I would like to add that you must wear safety goggles, gloves, and other safety gear since it’s an electrical job.
Related Articles
Installing Under Cabinet Ductless Range Hood

FYI some range hoods aren’t hard wired so you can just unplug them from the wall and unscrew them from the cabinets. Good tips on removing the filters though – that was where I was stuck figuring out how to disconnect. thanks!
Thanks for your compliment.